Creating a new Linux machine or instance in Amazon AWS
Amazon Web Services (AWS) is a subsidiary of Amazon.com that provides on-demand cloud computing platforms to individuals, companies and governments, on a paid subscription basis. The technology allows subscribers to have at their disposal a full-fledged virtual cluster of computers, available all the time, through the Internet.
Amazon is now offering the AWS subscription as free for first year now. You can use all the available free-tier software’s/Virtual machines for testing/Educational purpose and later you can go for high end servers (Charges apply).
Now, let’s jump right in to deploying one of the Linux API on AWS instance assuming you already have an account with AWS.
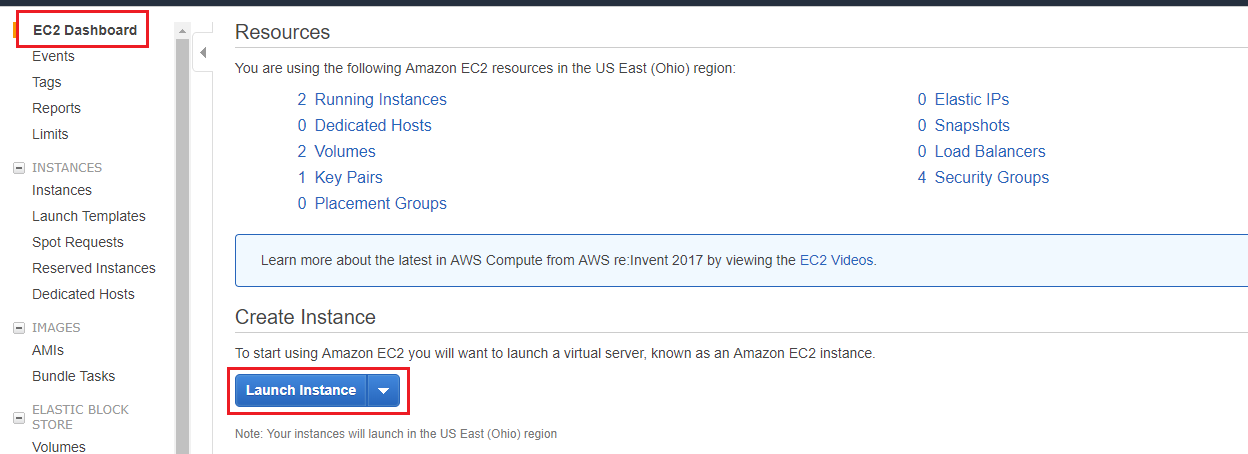
Go to AWS EC2 Dashboard. Click launch Instance.
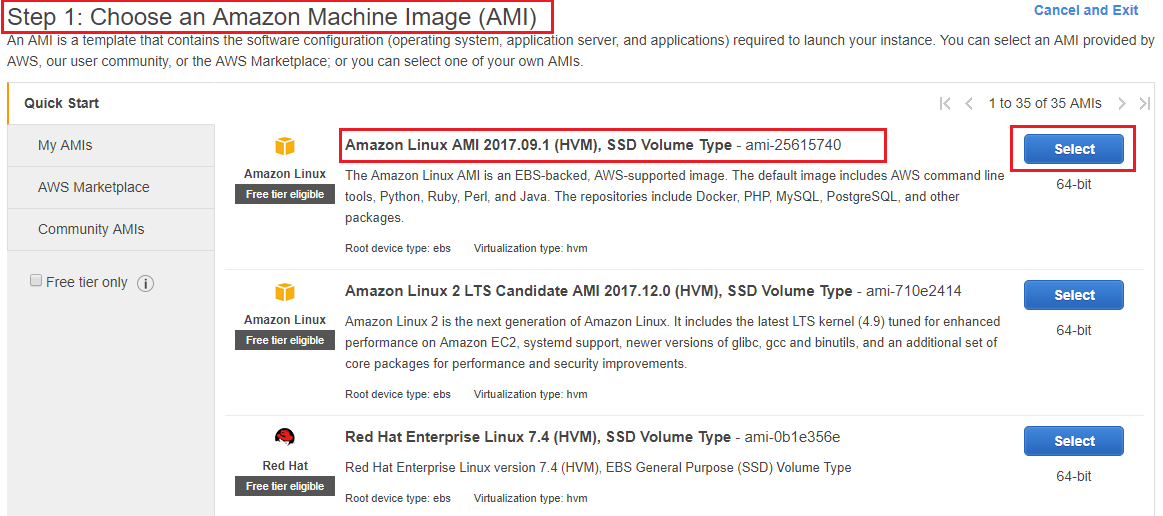
In the Choose an Amazon Machine Image (AMI), select one of the AMI. I am going to select the first one, Linux AMI 2017.09.1
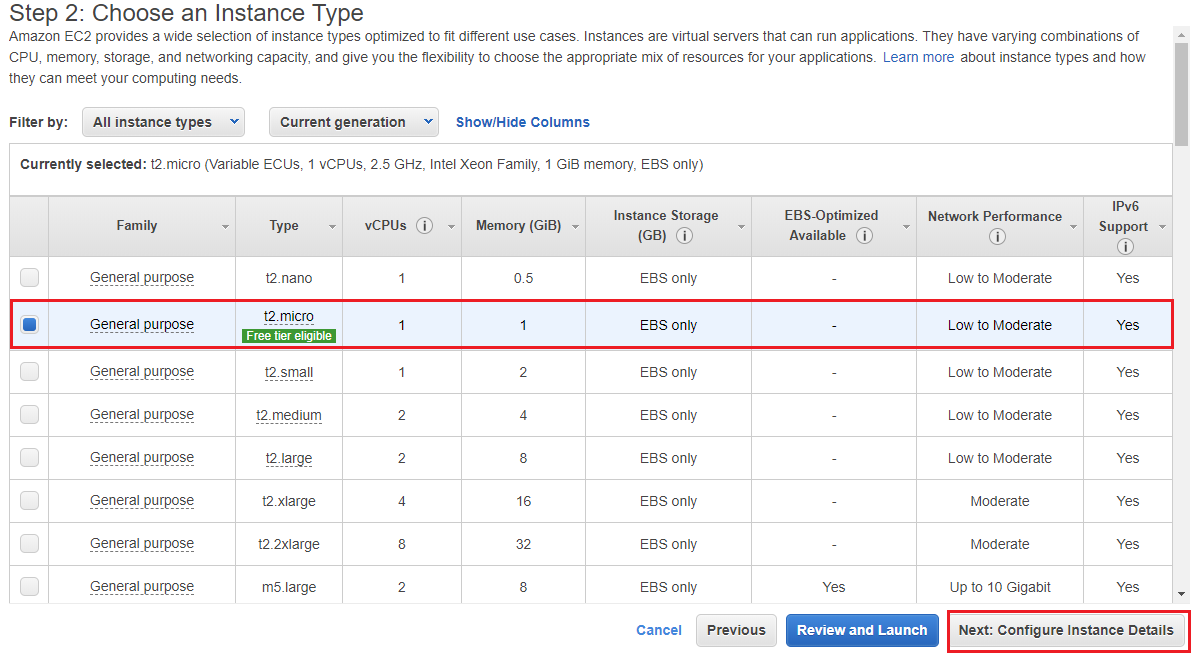
You’ll be presented with the list of instant types available. As we are doing this as educational purpose, I am going to select the one which is free for use and click Next: Configure Instance Details.
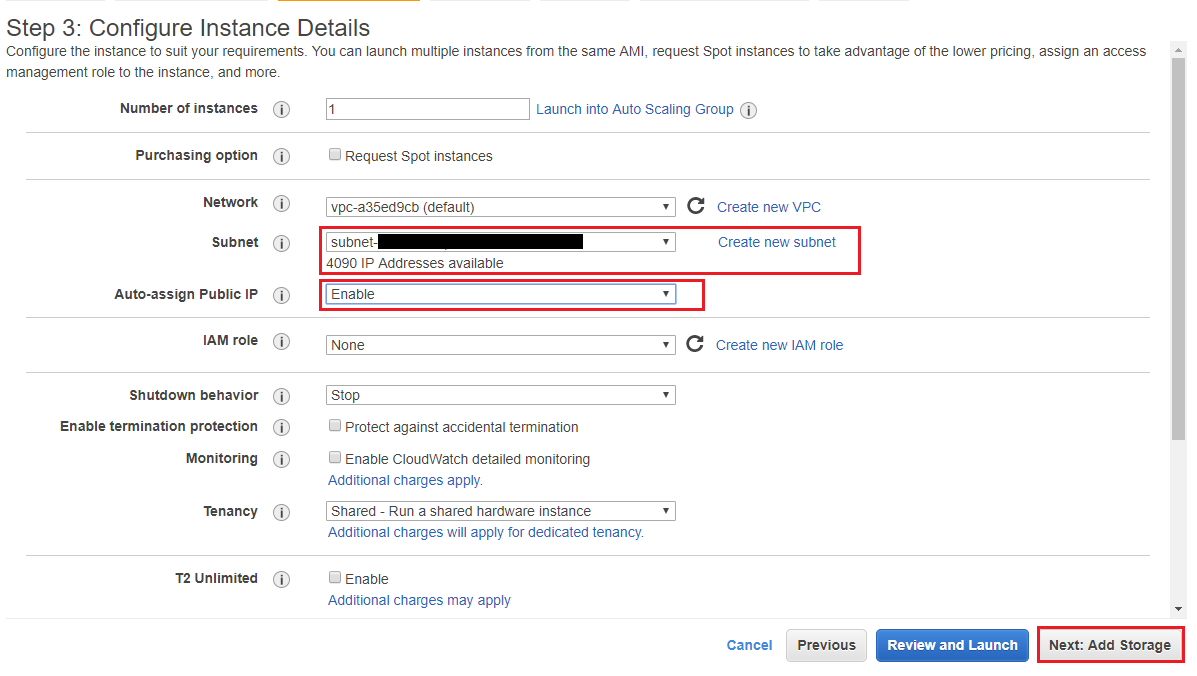
In the Configure Instance Details page, you can select the subnets from the available list or create new subnet. You can also enable public IP based on your requirement. In this case, I am enabling the Public IP and select Next: Add Storage
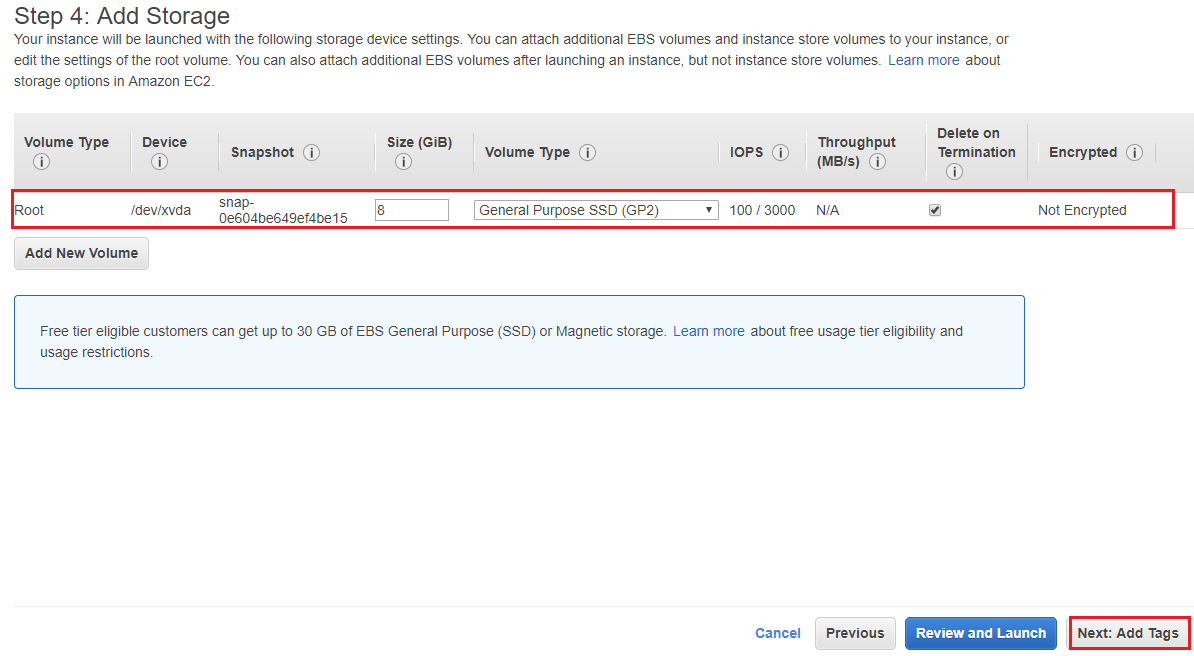
By default, AWS will give you enough storage space. If you require more, you can add the extra storage in the Add Storage page and click Next:Add Tags.
A tag consists of a case-sensitive key-value pair. For example, you could define a tag with key = Name and value = Webserver. A copy of a tag can be applied to volumes, instances or both.Tags will be applied to all instances and volumes. Learn More about tagging your Amazon EC2 resources.
After adding the Tag, Click Next: Configure Security Group
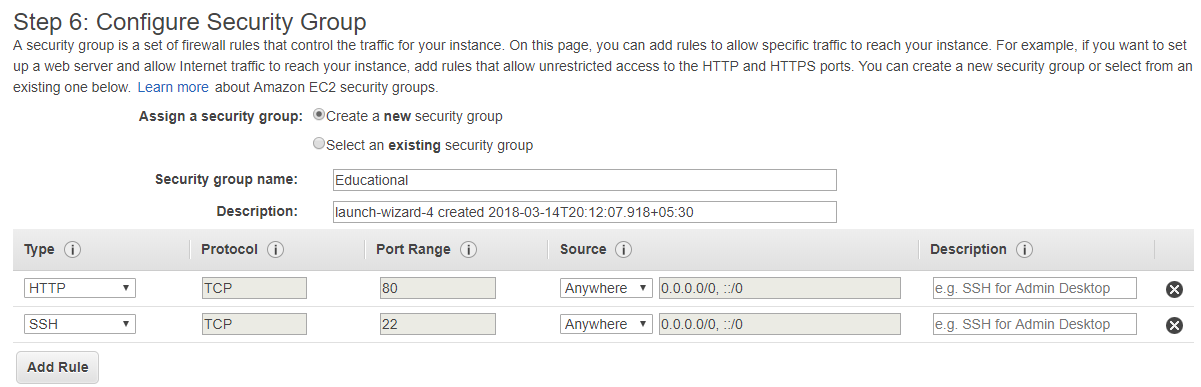
In the Security Groups, you can add the firewall rules to control the traffic on your instance. Change the Group Name and add the rules as per your requirement. And click Review and Launch
Review all your settings on the review page and click Launch. You will be presented with the option to select create a new key pair. Select Create a new key pair and enter the Name as per your requirement. Download and keep the key file (.pem file) in a secured folder. This will be useful when you are connecting to the console of the instance.
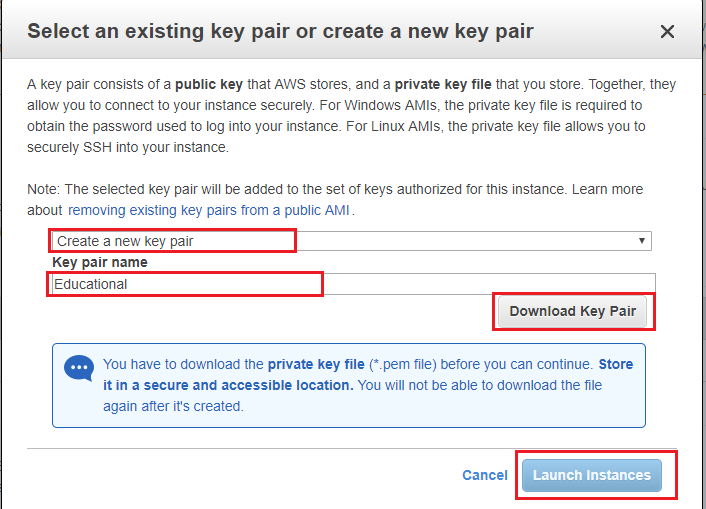
Now, click on Launch Instances
To Access your EC2 Instance/ virtual machine you just launched, you can select the instance id from the Launch Status page. It will take you to the instances page, where you can see your new instance. And below, you can see all the information required including the Public IP. Make a note of this public key.
Now you have your Linux Instance up and running in the AWS platform. Next step would be to connect to the VM.
Install and open Putty Gen to convert your .pem file to .ppk format. As Putty only understands .ppk file format. Import the downloaded Educational.pem file and click Save Private Key.
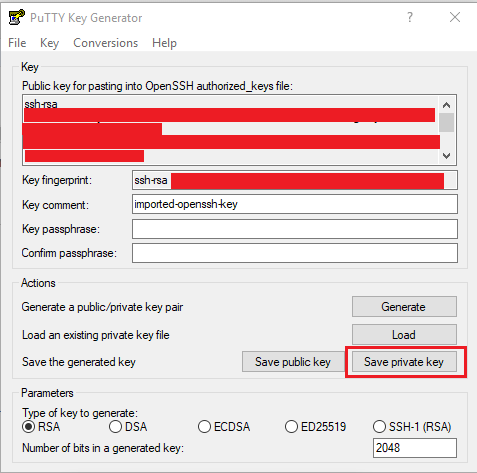
You will be prompted with puttygen warning. Click yes and save the file as Educatioinal.ppk.
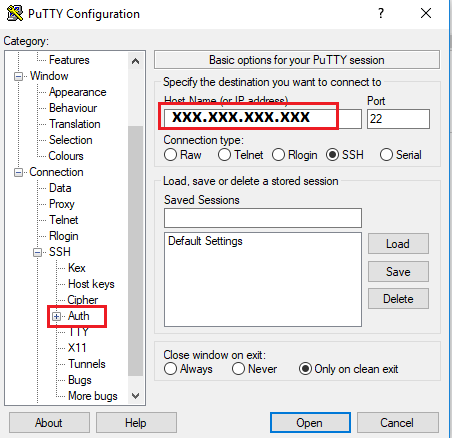
Now, Open Putty, Enter the Public IP which you note down in earlier step, Expand SSH and click on Auth.
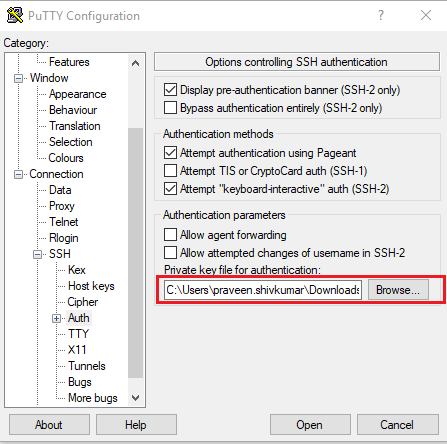
Here, Browse for the .ppk file you just created and click open. Click Open again to connect
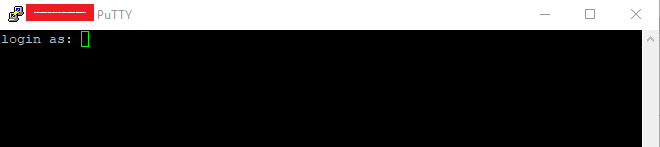
Say Yes to the putty Security Alert.
you will be connected to the new instance after this.
I will be creating a new article on install and configuring WordPress on AWS Linux machine soon.

