Installing and Configuring WordPress on Amazon AWS Linux Instance
WordPress is a free and open-source content management system (CMS) based on PHP and MySQL. To function, WordPress must be installed on a web server, which would either be part of an Internet hosting service or a network host in its own right. An example of the first scenario may be a service like WordPress.com, for example, and the second case could be a computer running the software package WordPress.org. A local computer may be used for single-user testing and learning purposes. Features include a plugin architecture and a template system. WordPress was used by more than 29.4% of the top 10 million websites as of January 2018.WordPress is reportedly the most popular website management or blogging system in use on the Web, supporting more than 60 million websites. WordPress has also been used for other application domains such as pervasive display systems.
Lest Go ahead and install WordPress in AWS instance. Connect to your Linux instance using putty.
Click here for help on creating a new instance in AWS and connecting to the machine.
Once connected through SSH, login as ec2-user (default AWS standard user account).
As we are going to install some Pre-Requisites and configure the database for WordPress, lets become the root user by entering the below cmd.
Sudo -i
Now, lets install, Php, MySql server and client, and apache on the server. I am going to install one by one to make sure everything is installed perfectly. After running each command, type y to confirm installation.
yum install mysql-server mysql

yum install httpd

yum install php

yum install php-mysql -y
To start apache server, run the below command
/etc/init.d/mysqld start
Now, lets create a database for WordPress
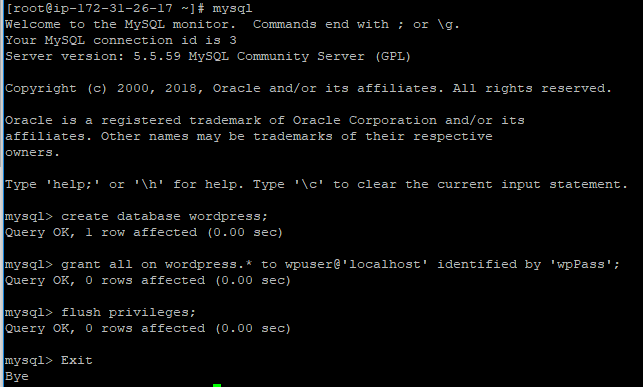
Type mysql and hit enter to enter in to sql mode.
Run the below commands to create a database for WordPress and add a user for the database login.
create database wordpress;

grant all on wordpress.* to wpuser@'localhost' identified by 'wpPass';

flush privileges;
By default, most popular web services use the path /var/www/html as the default, lets change directory.
cd /var/www/html
Now, go to wordpress.org page and get the link to download the latest WordPress software.
To download the file, run the below command.
wget https://wordpress.org/latest.tar.gz
Extract the .tar file by running below command
tar xzf latest.tar.gz
Let’s restart apache server once.
/etc/init.d/httpd restart
Now go to your local machine browser, and type in the Public IP address followed by /wordpress
Ex: xxx.xxx.xxx.xxx/wordpress (replace the xxx.xxx.xxx.xxx with the server Public IP address)
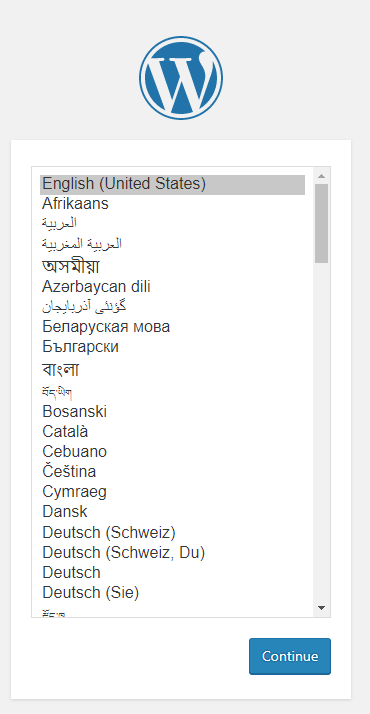
You will be presented with WordPress installation and configuration page. Select the Language and click continue.
In the next page, click Lets go
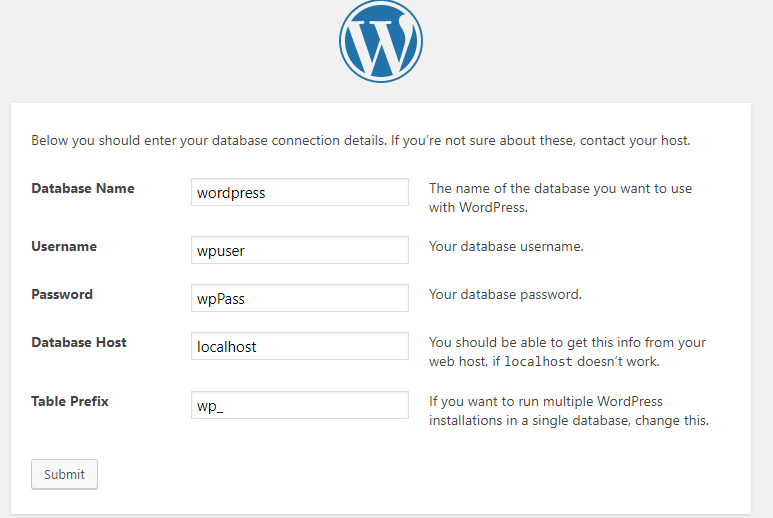
Enter the database name, user and password which you created in the earlier steps. Click Submit
Click on the Run installation.
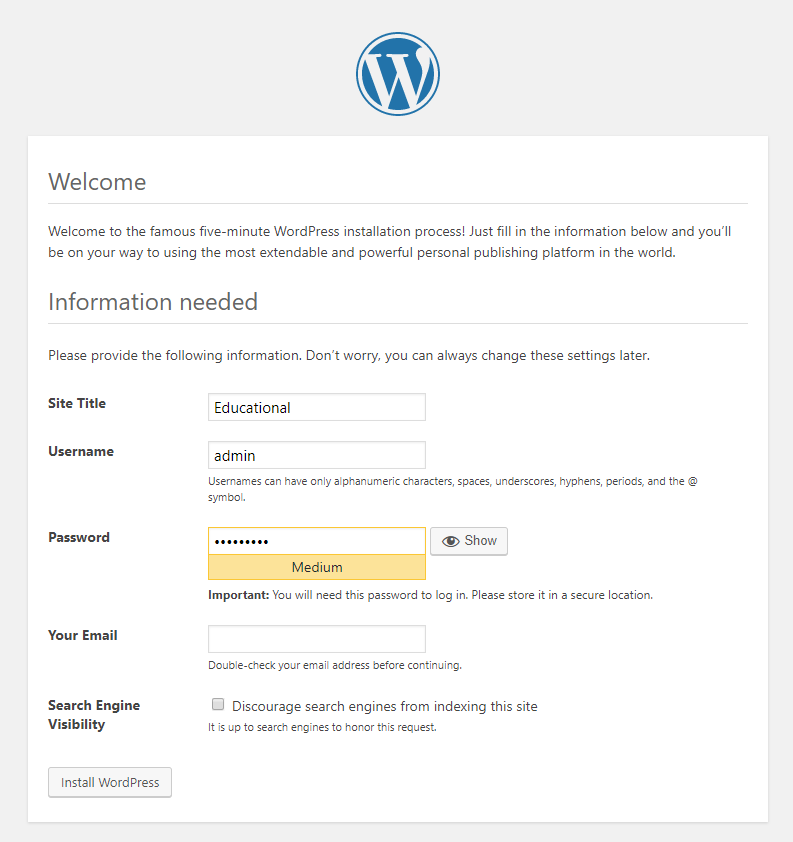
In the WordPress Welcome page, enter the Site name, User name and password to login as per your requirement and provide the email address and click Install WordPress
Click Login
At the login prompt, enter the user name and password you just created and click Login.
After a successful login, you will be presented with the WordPress admin dashboard.
hope the article was beneficial for you. If you have any queries, please leave your comments. I will try to resolve.

