Installing the Hyper-V Feature in Windows 10
Installing the Hyper-V Feature in Windows 10 machine using Control Panel
Go to Control Panel >> Select Programs and Features >> Select Turn Windows Features on or off >>
Say Yes to the User Access Control(UAC)
You will get the Features list as shown below
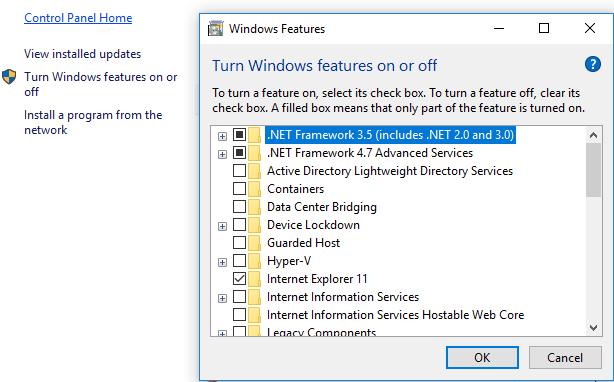
Expand Hyper-V and select all the Sub-Features. And click OK. You may need to have the Windows 10 Installation disk inserted on the CD tray or need to be connected to the internet to copy the required files.
Once the Installation is completed, Restart the computer.
Installing Hyper-V using Windows PowerShell
Use the PowerShell Help to find the Cmdlet related to windows Features in Windows 10
Get-Help *WindowsOptionalFeature*

Now use the Below Cmdlet to get the list of available Windows Features in the Laptop
Get-WindowsOptionalFeature -Online | Format-Table
![]()
You can use the below Cmdlet to see the Examples
Get-Help Get-WindowsOptionalFeature -Examples
Execute the below Cmdlet to Install the Hyper-V on the Windows 10 Machine
Enable-WindowsOptionalFeature -Online -FeatureName "Microsoft-Hyper-V-Tools-All","Microsoft-Hyper-V-All" -Verbose

You will have to restart the computer to complete the installation.
Once restarted, you can check the installed features by using
Get-WindowsOptionalFeature -Online | Format-Table


