Creating New Virtual Machines using Hyper-V Manager
Go to Start and Open the Hyper-V Manager
Note: You need to be Administrator or member of Hyper-V Administrators group to Create the Virtual Machines
Hyper-V Manager Console will be like below Screenshot.
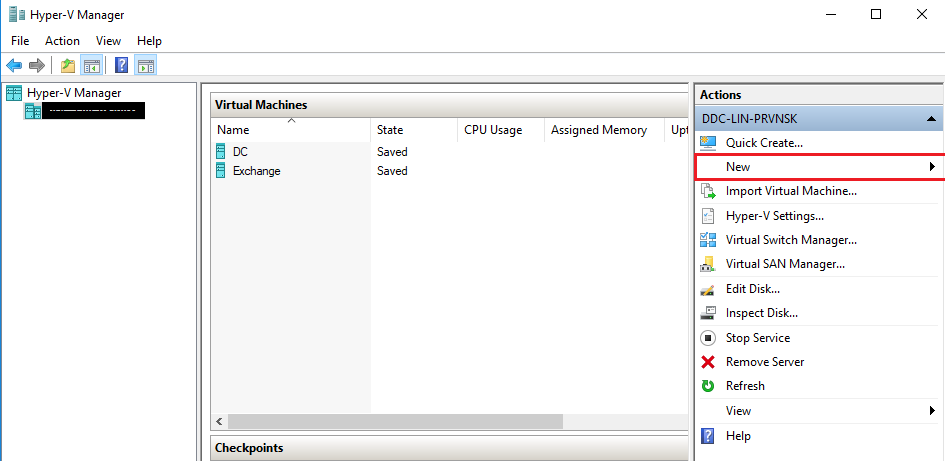
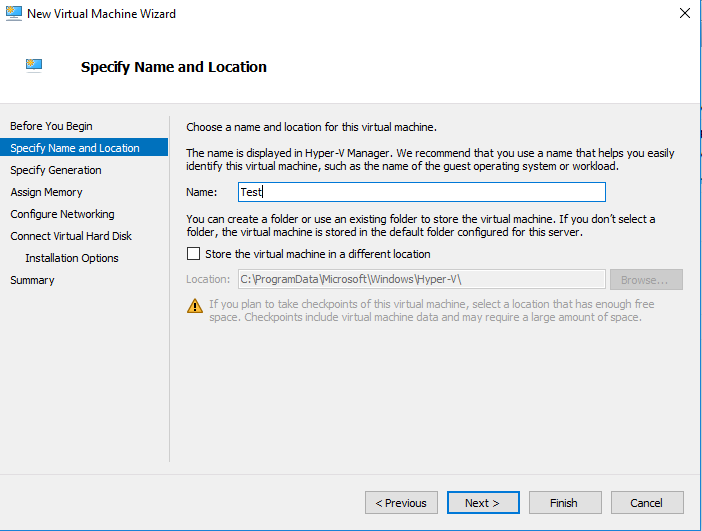
To create a new Virtual machine, Click on New > Select New Virtual Machine > Select the location where you want the VM Files to be stored.
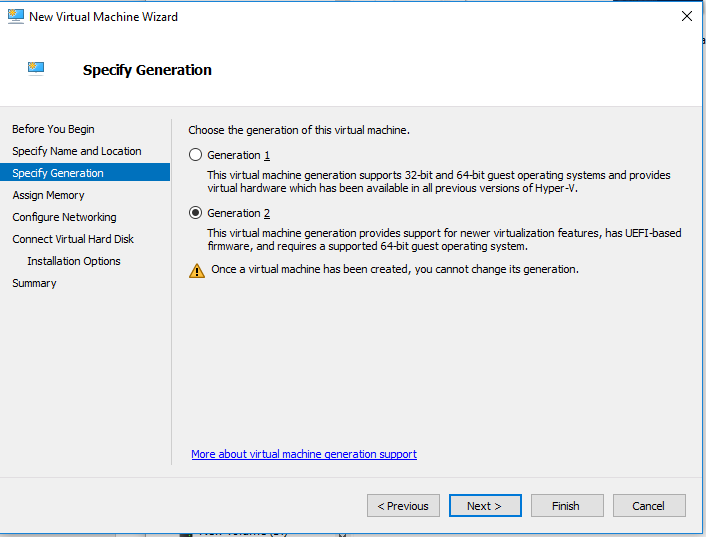
Click Next > Choose the Generation which you want (Here I’m Selecting the recommended version Generation 2)
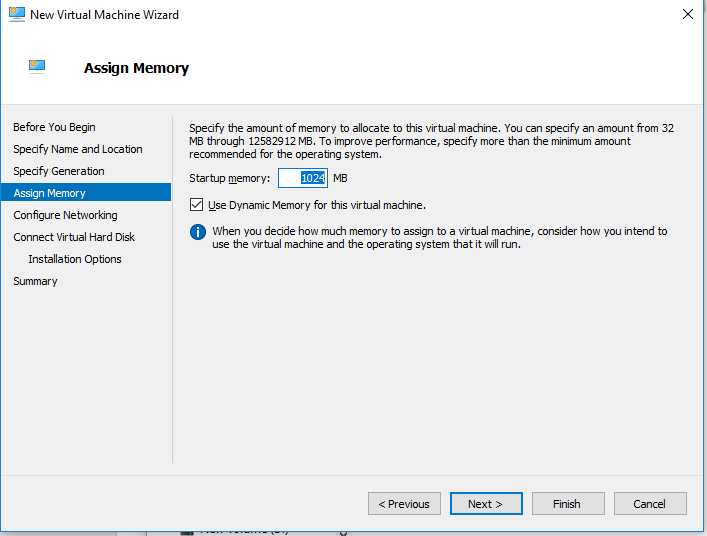
Enter the Desired memory. you can select the “Use Dynamic Memory for this Virtual Machine” if needed.
More about Dynamic Memory
Imagine you’re a desktop user, and you go to spin up a VM. It doesn’t work because you were a little too ambitious allocating memory for the rest of the VMs, and so you’ve run out of memory to give.
Without this feature, you’re stuck. You have enough memory to run all your workloads, but it is tied up in VMs that don’t need it. Your only option is to shut down your VMs and reallocate the memory when they’re off. This means painful downtime for the workloads running on your machine. In the worst case, you have something critical running in those virtual machines. Best case scenario, this is just a huge hassle.
With runtime memory resize, you can simply remove memory from those other VMs without needing to stop anything. Once enough memory is freed up, you can go ahead and launch the new VM. This feature allows desktop users to create VMs without being locked down to the initial memory value.
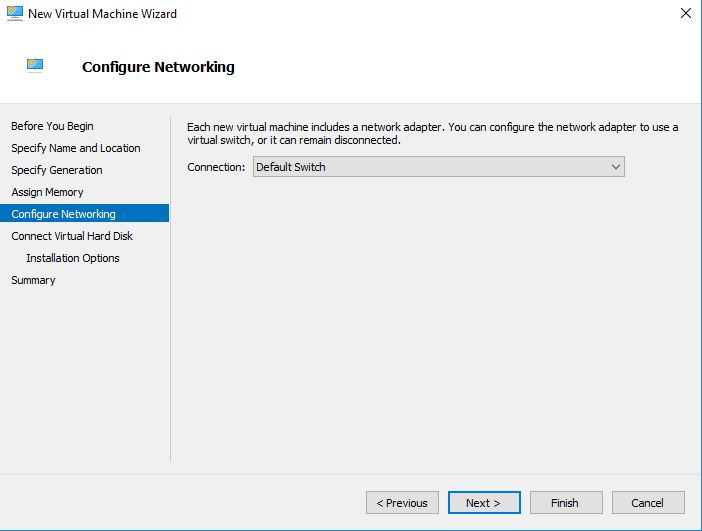
After selecting the memory click Next > Select the Network switch (I am selecting the Default Switch here)
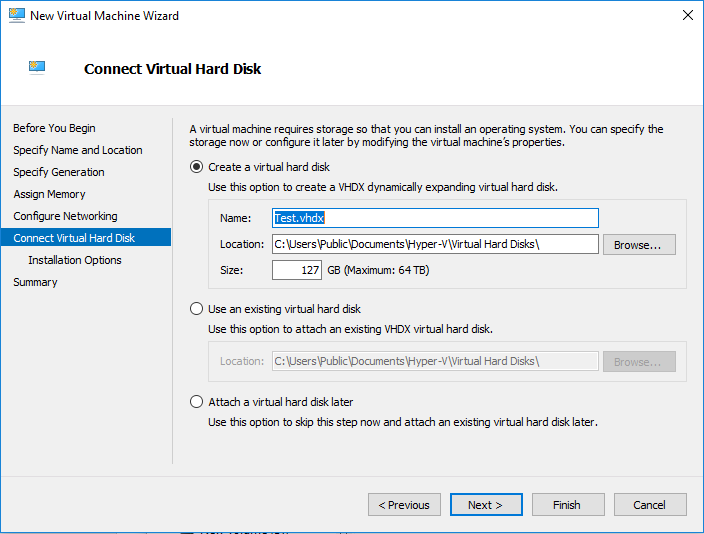
Click Next > Create and connect the Hard Disk.
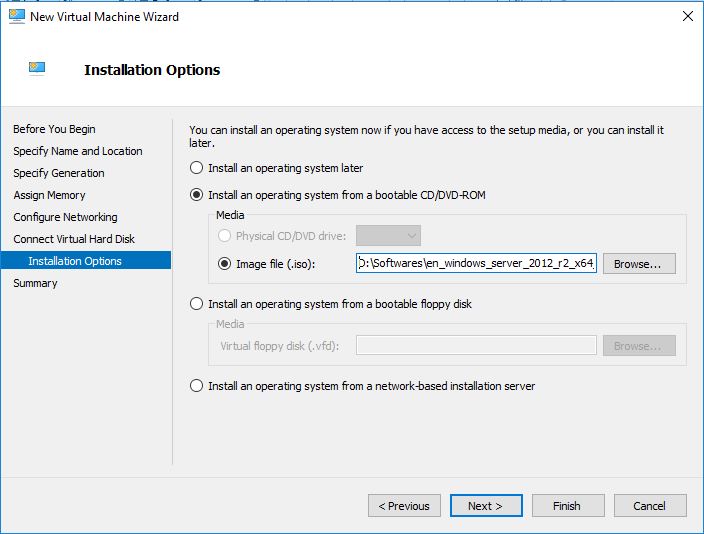
Click Next > In the Installation Option, Select the option “Install an operating system from a bootable image file” and select the Operating system ISO file and Click Next (Here, For the testing purpose, I am using Windows 2012 R2 server)
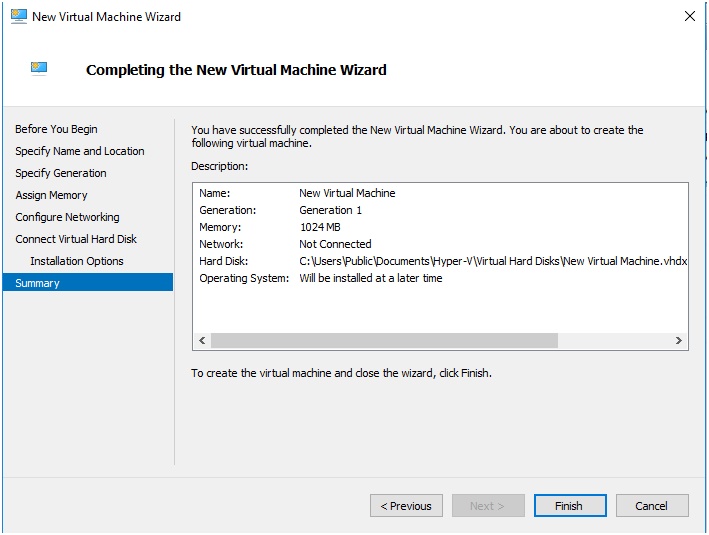
Click Next. At the summary page, Review the settings and click finish
Creating Virtual Machines using PowerShell
You can get the list of available Cmdlets for managing Hyper-V using the below Cmdlet
Get-Command *VM*
Use the Below Cmdlet to Create the Virtual Machine from PowerShell
New-VM -Name "Test" -MemoryStartupBytes 1024MB -Generation 2 -NewVHDPath "Enter the HDD Path" -NewVHDSizeBytes 60GB -SwitchName "Default Switch"
Once the VM is created, you will see something like this in PowerShell

Follow the below steps to configure your virtual machine from PowerShell
To set the Operating System ISO, run the below Cmdlet (Change the path and file name according to your File name and directory).
Add-VMDvdDrive -VMName "VM Name" -Path "Enter Win 2012 R2 ISO path"
Below are the few basic Cmdlets which are used to manage the Hyper-V virtual machines from PowerShell
#To Start the VM from PowerShell
Start-VM "Client1"

#To connect to the VM Console
.\vmconnect.exe "Hyper-V Host Name" "Client1"

#To Suspend a VM from PowerShell
Suspend-VM "Client1"

#To resume a paused VM
Resume-VM "Client1"

#To Stop/Shutdown the VM
Stop-VM "Client1"

#To Change the First boot device to DVD
Add-VMDvdDrive -VMName "Client1" -Path "Enter the ISO Path"
$VMDrive = Get-VMDvdDrive "Client1"
Set-VMFirmware "Client1" -FirstBootDevice $VMDrive

#To Create a CheckPoint of VM
Checkpoint-VM -Name "Client1" -SnapshotName "CheckPoint Name"
If you are looking for a script to automate or create muliple VM’s, Click here

